|
|
|
|
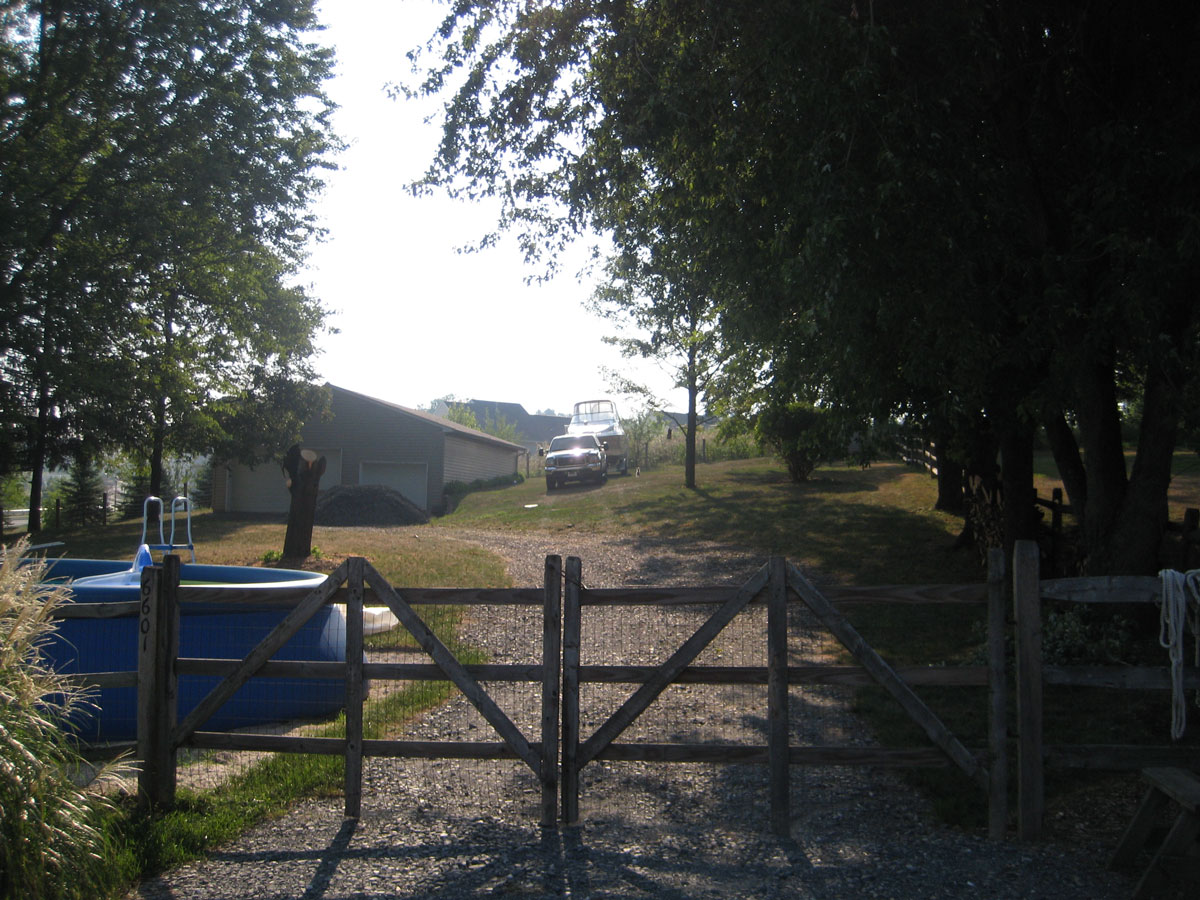
Day 19 - This is when it started with our first TRUCK
load of Crush and Run back there in the driveway. Our old pool that
we used for a good 4 years. We are well deserving of an in-ground pool
|
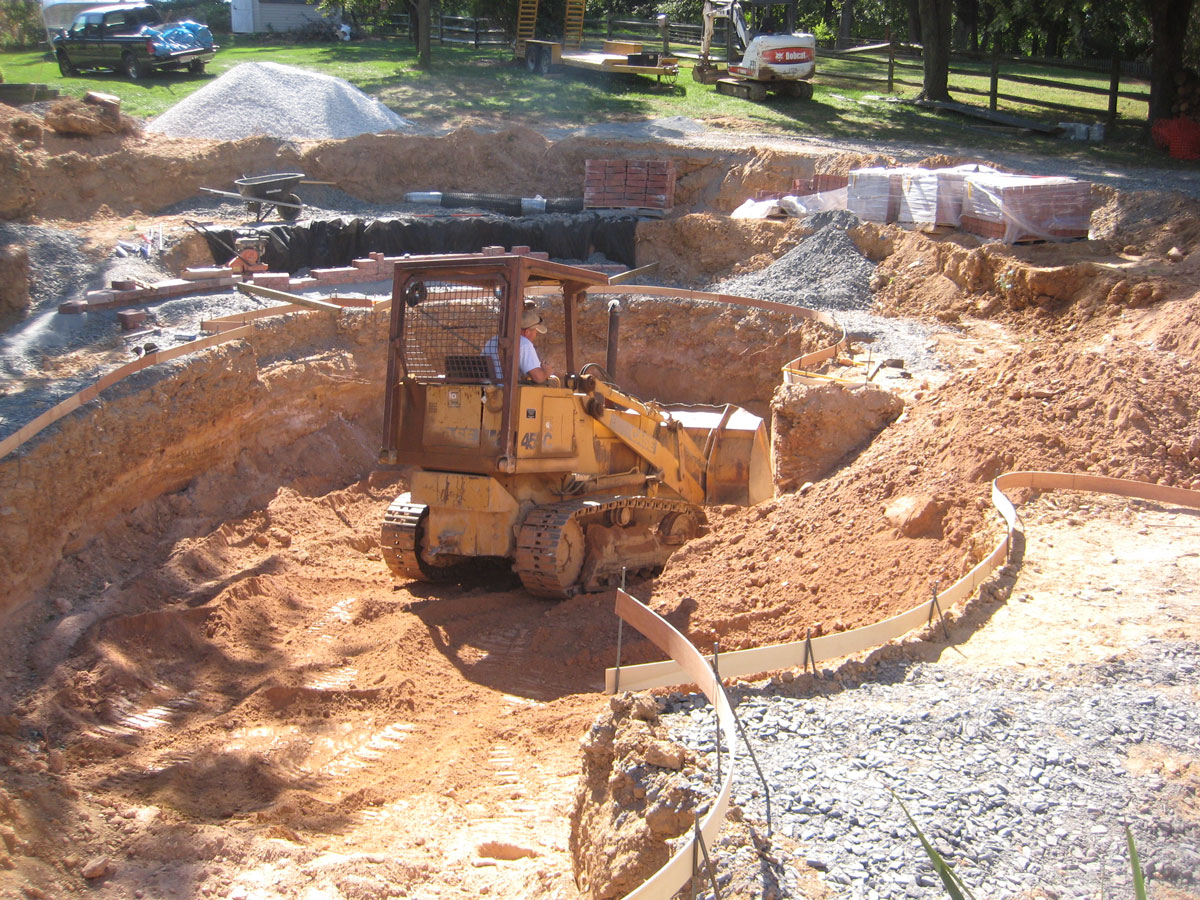
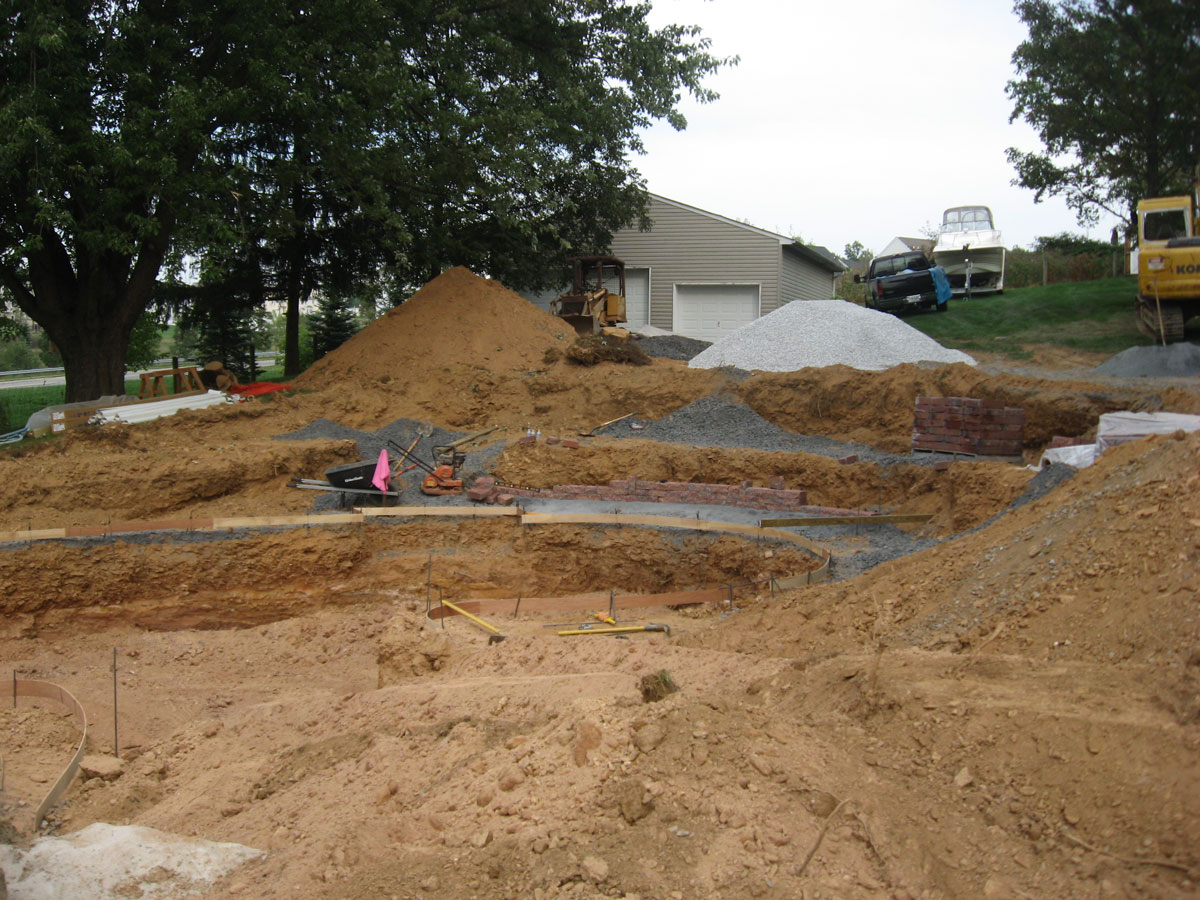
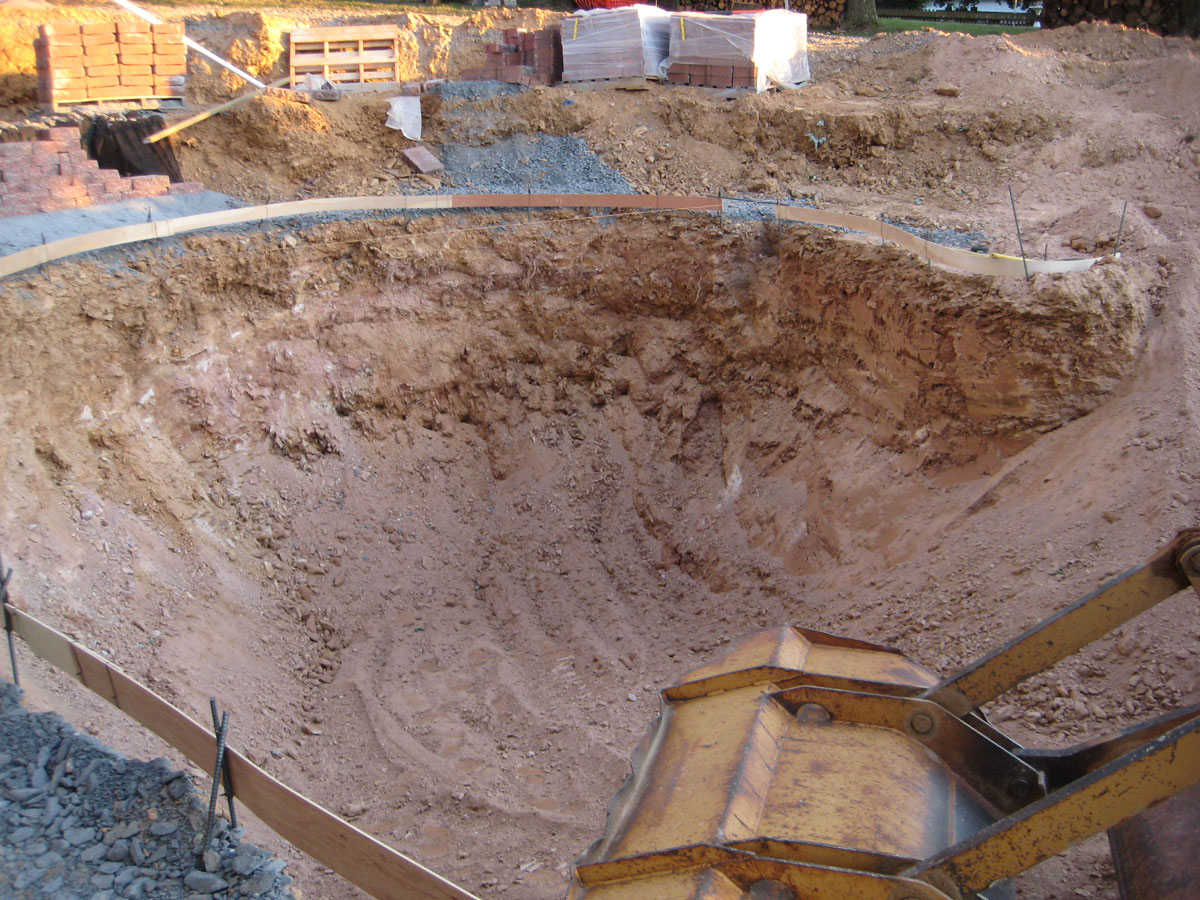
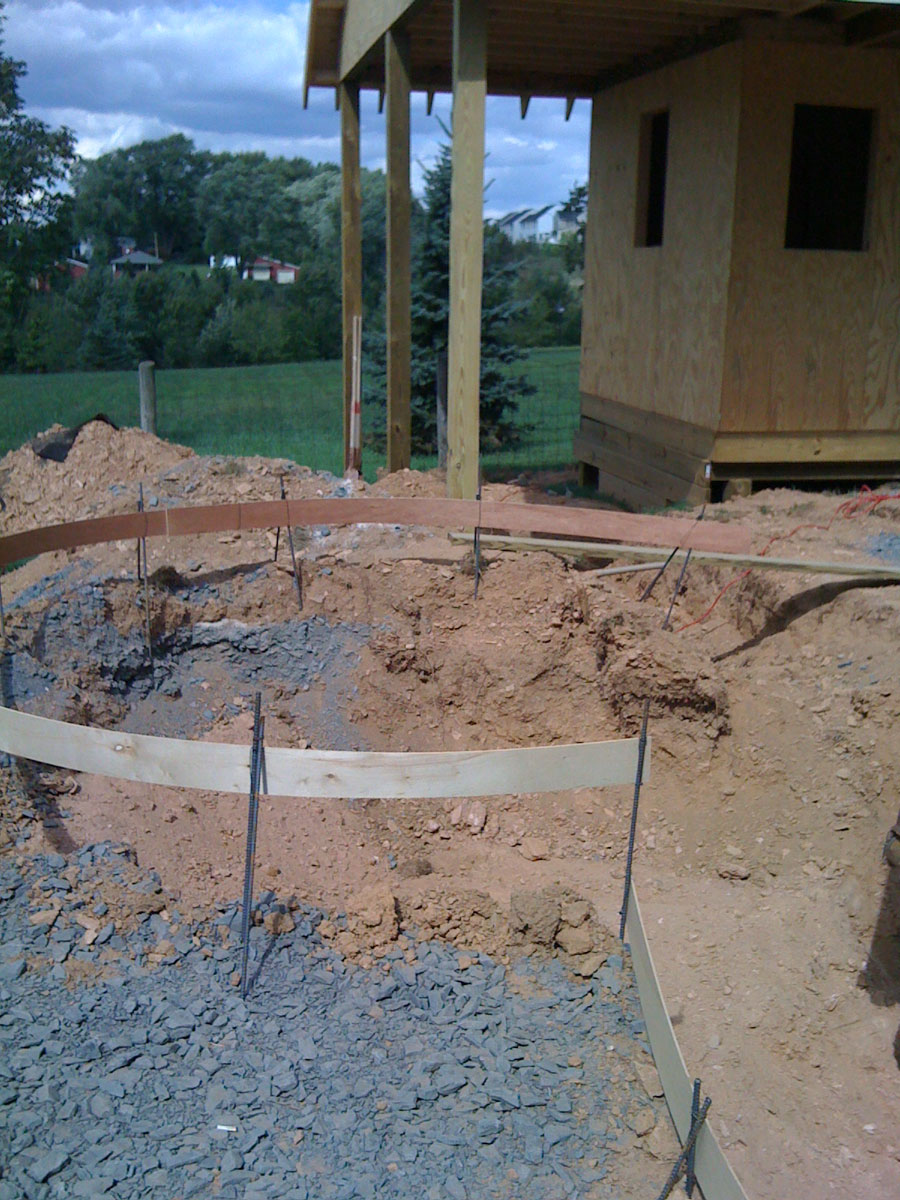
Day 43- In conjunction with the pool builder digging out the pool, they also dug out areas for our wall area. You can see the beginning of the wall taking place behind the dozer. We had all of our block wall delivered until the very end. I found that much of it was placed where it got a little inconvenient for moving stone and hauling it further than I would have liked to. I would certainly make more time available to be there when these things were done the next time. |
 |
 |
|
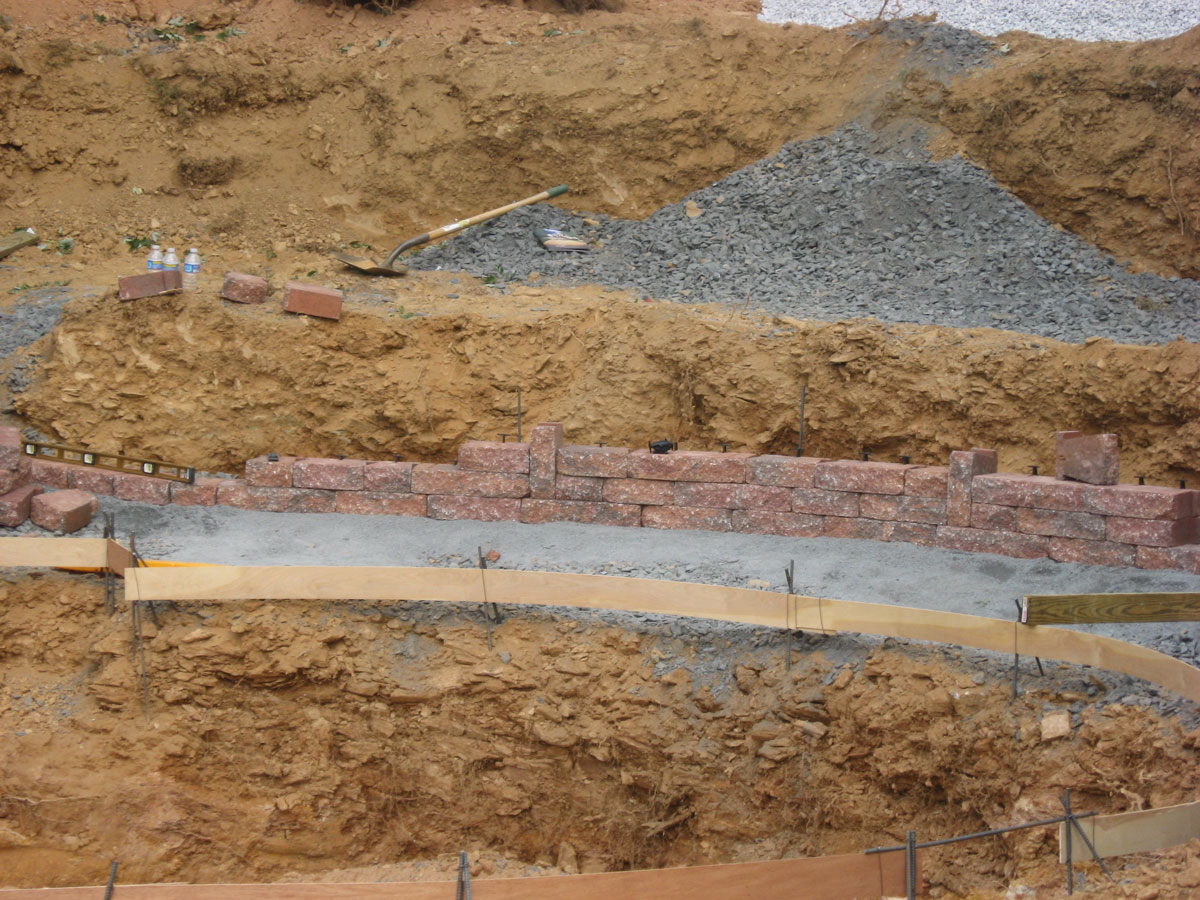
Day 43 - With the use of their tamper, we began the first wall. After they did all the grading, I asked for a foot below their pool line to accomodate crush and run and one block prior to getting to the top of the pool. The pool builder told me that I would have 1 inch above the plywood. That gave me about 6 inches rather than a foot. He indicated he could bring the pool up another 2 inches, so I went with it. Lesson 5 Learned: Don't believe anything they tell you. You'll see as time goes on. Lesson 6 Learned: Don't borrow the pool builder's equipment. I wanted to buy a Tamper like this one (~$1000) and they offered me theirs. From that point forward anytime I complained about some cost, they held it over my head that these rent for a lot of money. I would have been happy to buy my own. More later. |
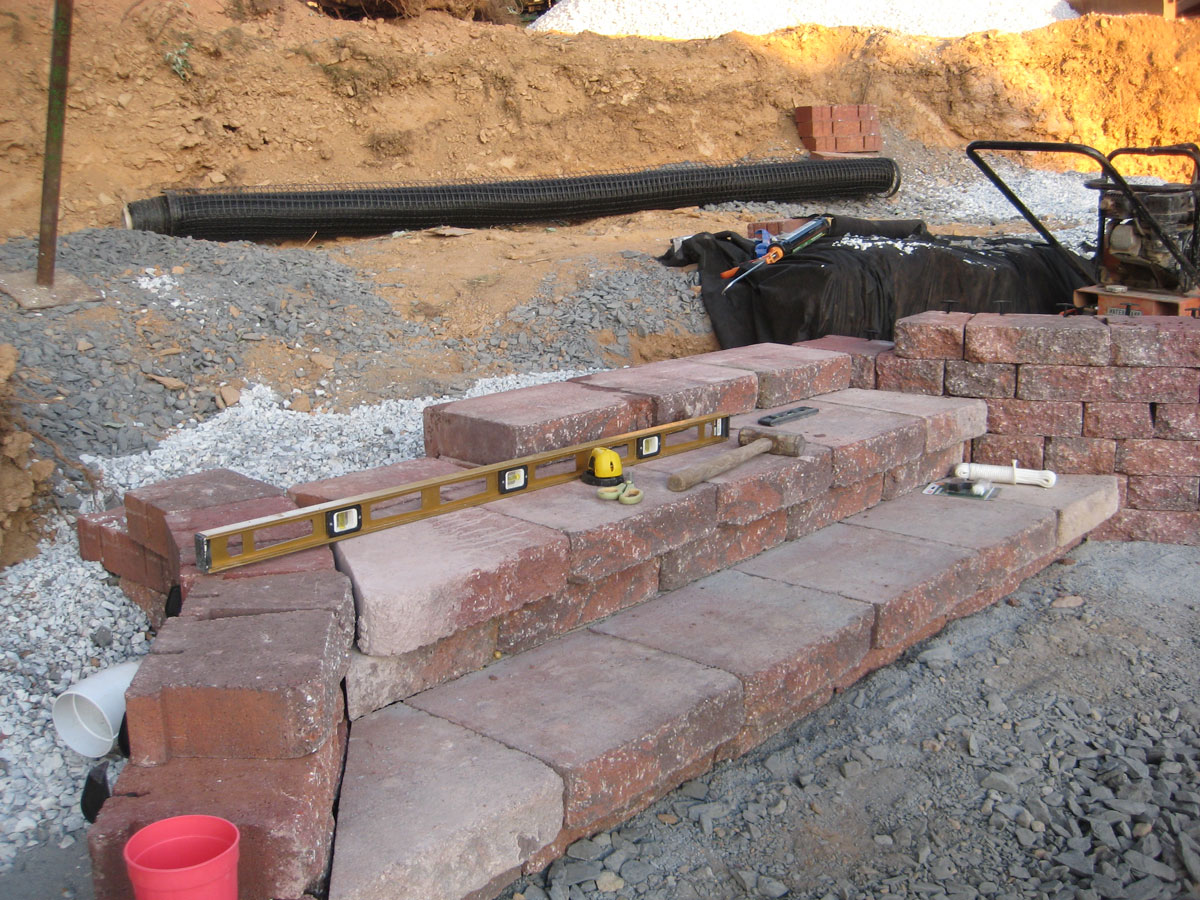
Day 43 - I began at the deep end of the pool. They had dug out alot more dirt for the first tier. I now believe that was intentional to get more concrete work around the pool. I kept the wall in much further resulting in a LOT more gravel to go in behind the wall. That's not a real problem except for the fact that most of it was hauled in close with a shovel and wheel barrow. Lesson 6 Learned: If you're going to do all the wall, MAKE SURE you're there when they're grading. They don't listen to anything you ask from them. I'm not critical in this opinion. I never got what I asked throughout most of this construction work. |
 |
 |
|
Day 43 - It was extremely HOT when we started working
on the wall. I was averaging 12 ounces of water every 15 minutes throughout
the day. I started dropping much of the stone directly to the 2nd tier
and then moving it behind the wall with a wheel barrow.
|
Day 43 - As you can see the elevation change is much greater after it's graded than what it looked like with the grass in place. Anyhow, we decided to work with it. |
 |
 |
|
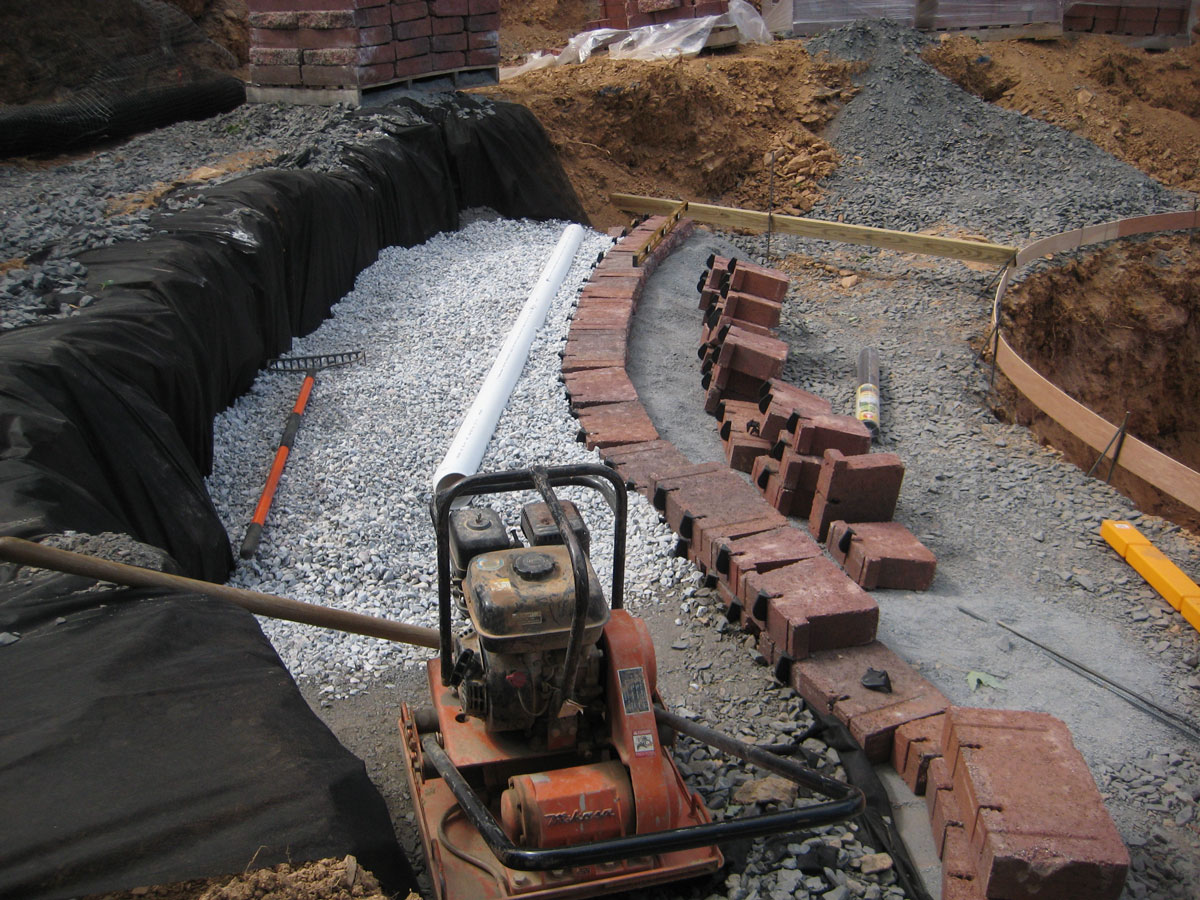
Day 43 - As you can see, I've got probably 3 1/2 feet
of stone that I had to compact behind the wall for the 2nd tier. It
resulted in probably 2 extra truck loads of stone all around the pool,
but we'll have good drainage.
|
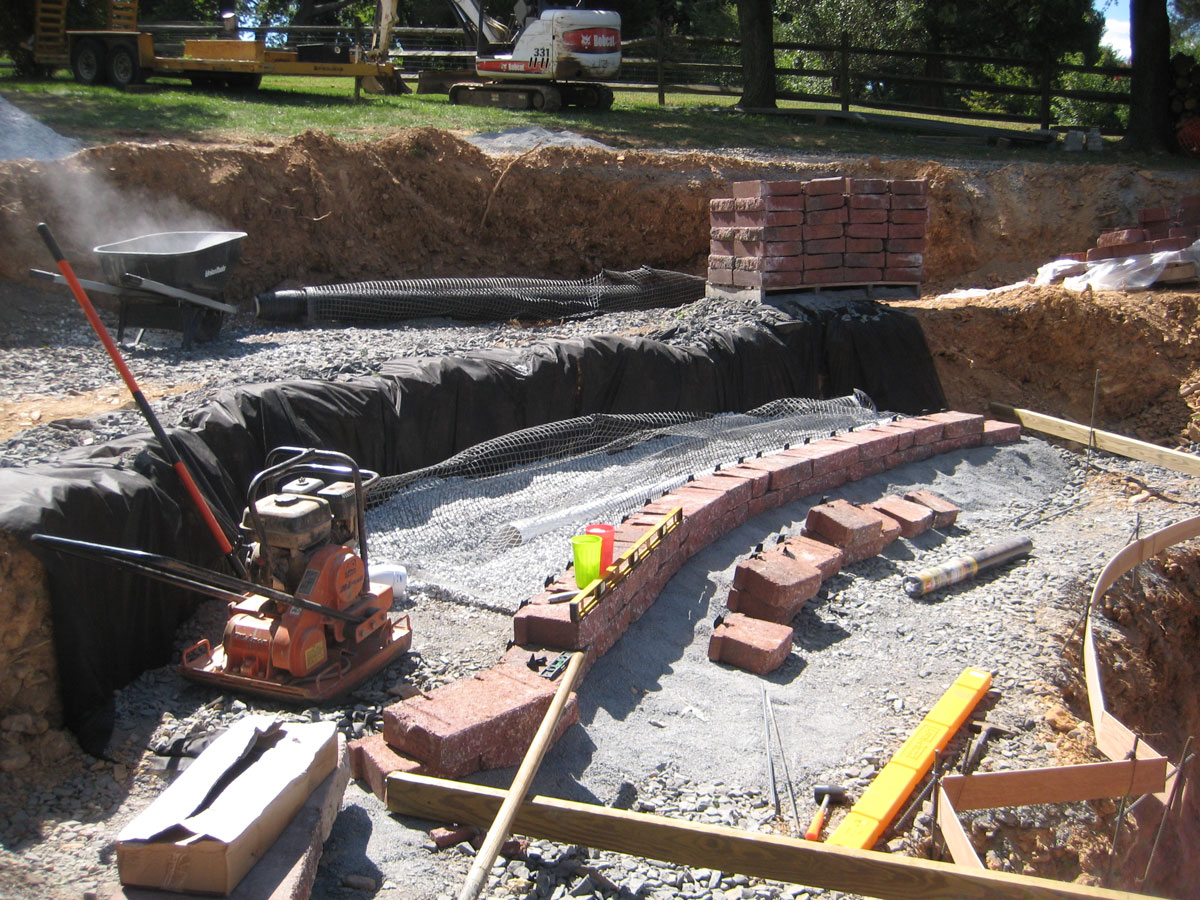
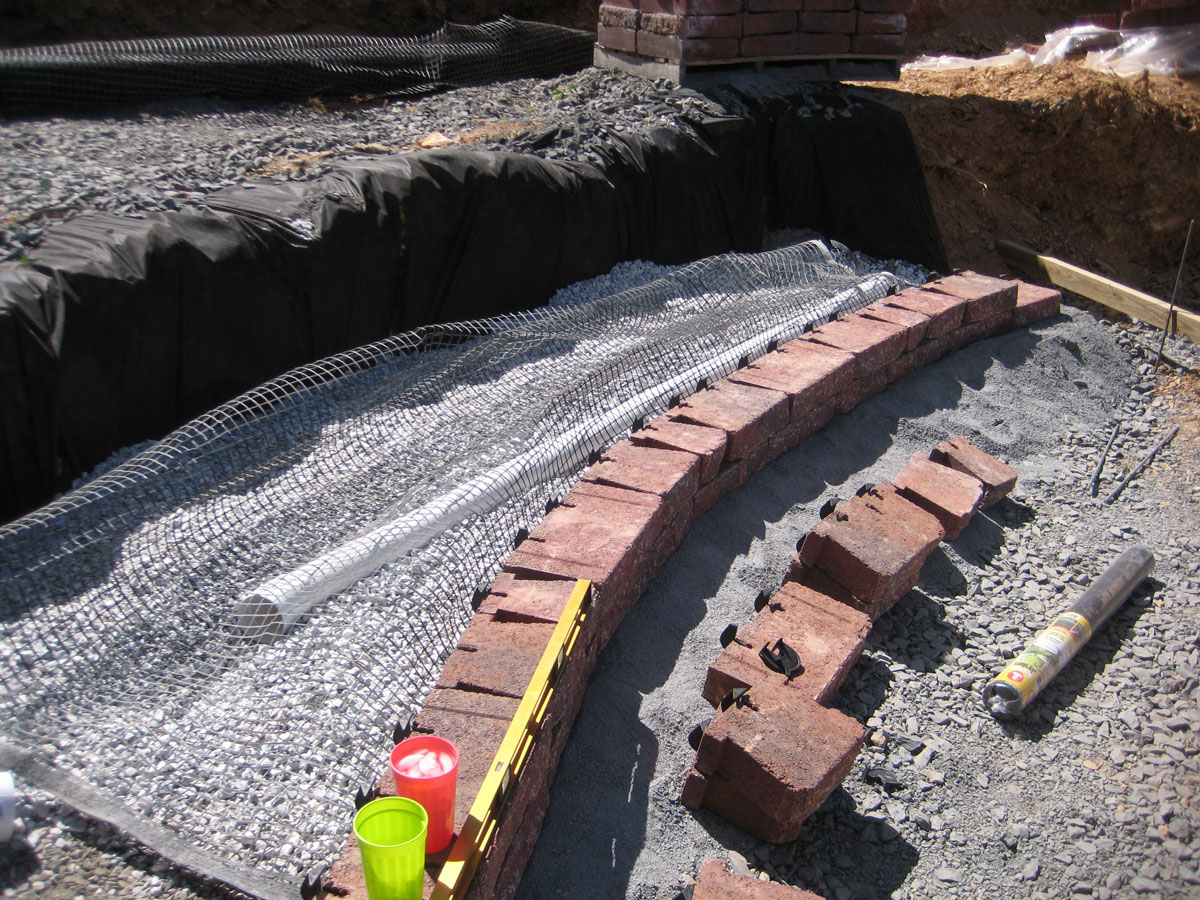
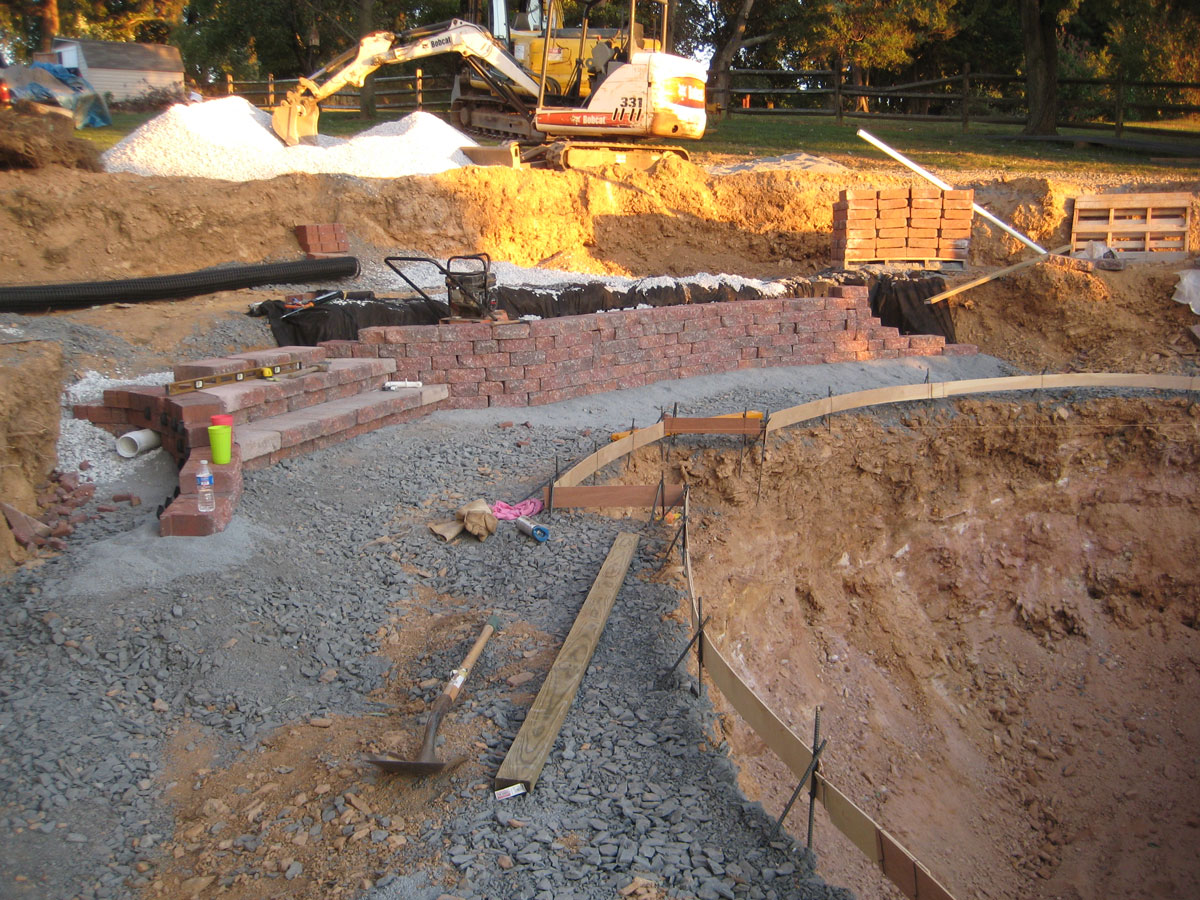
Day 43 - I put the drainage pipe in the middle of the stone in this area. We would have 4 pallets of Celtik wall delivered each weekend and run the wall as far as we could each weekend. This occurred for 4-5 weekends in a row as you'll see. The only tough part of this wall construction is getting the first layer level. After that it's simply stacking. Unforunately, if you lay the wall incorrectly, it results in a little bit more work. More explanation later. |
 |
 |
|
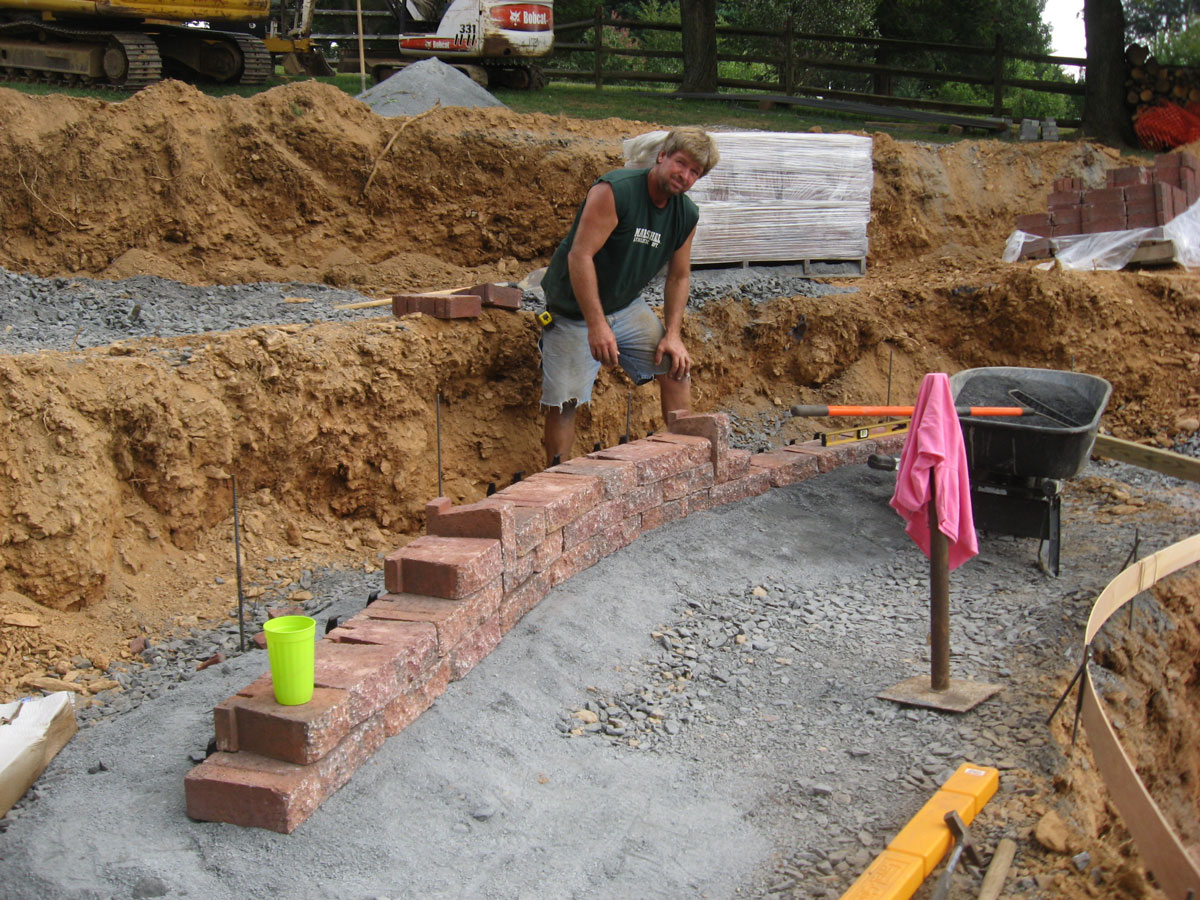
Day 44 - After building that short wall yesterday, I
began working on the stairs going up to the 2nd tier "Deck"
area. I wanted to keep these stairs pretty wide. They also lead directly
into the deep end of the pool entrance area. Building these stairs takes
twice as long as the walls and costs significantly more in step material
than regular wall material. I'm glad I built this one first. After this
one, I decided to make all the remaining stairs a little smaller.
|
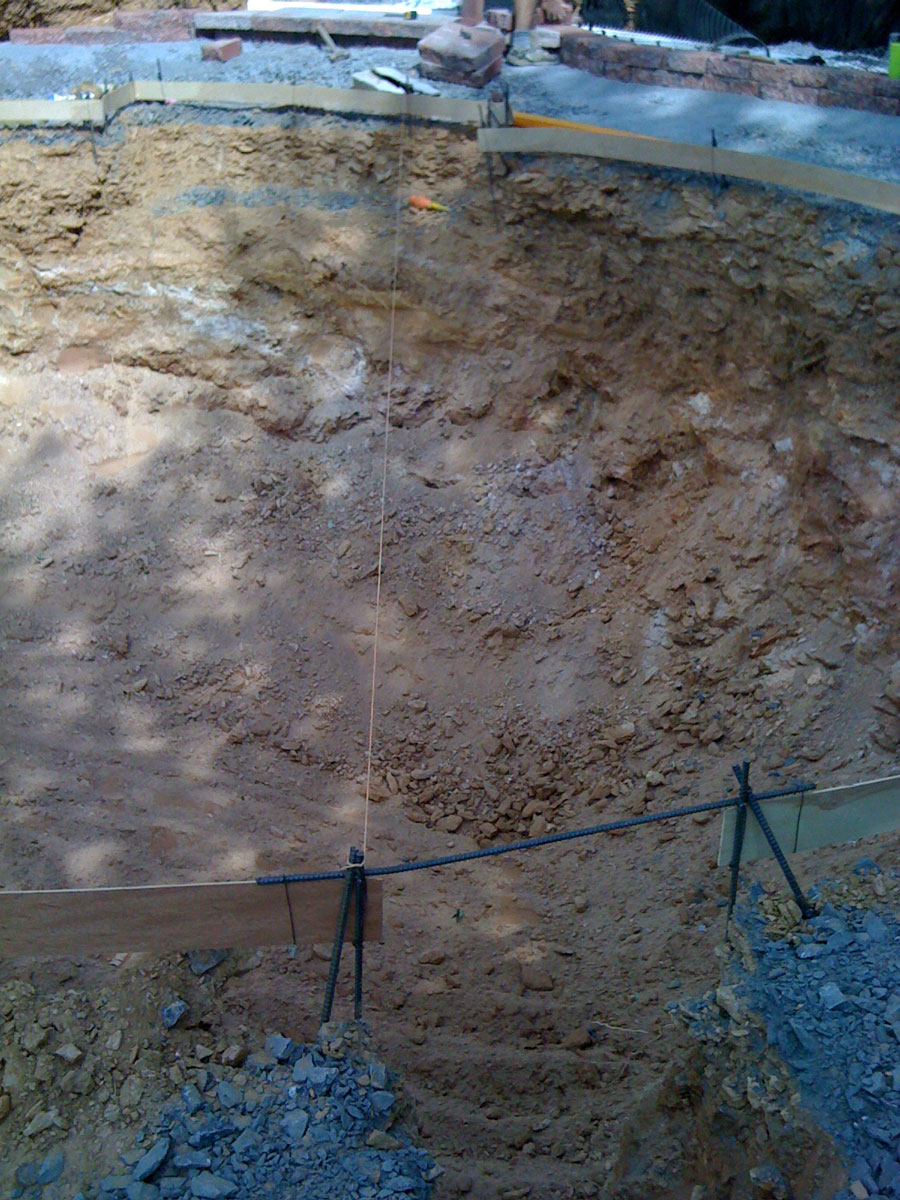
Day 44 - I'm still a little speculative on whether I have the wall deep enough in respect to the the pool height. The pool builder insisted I would be OK. |
 |
 |
|
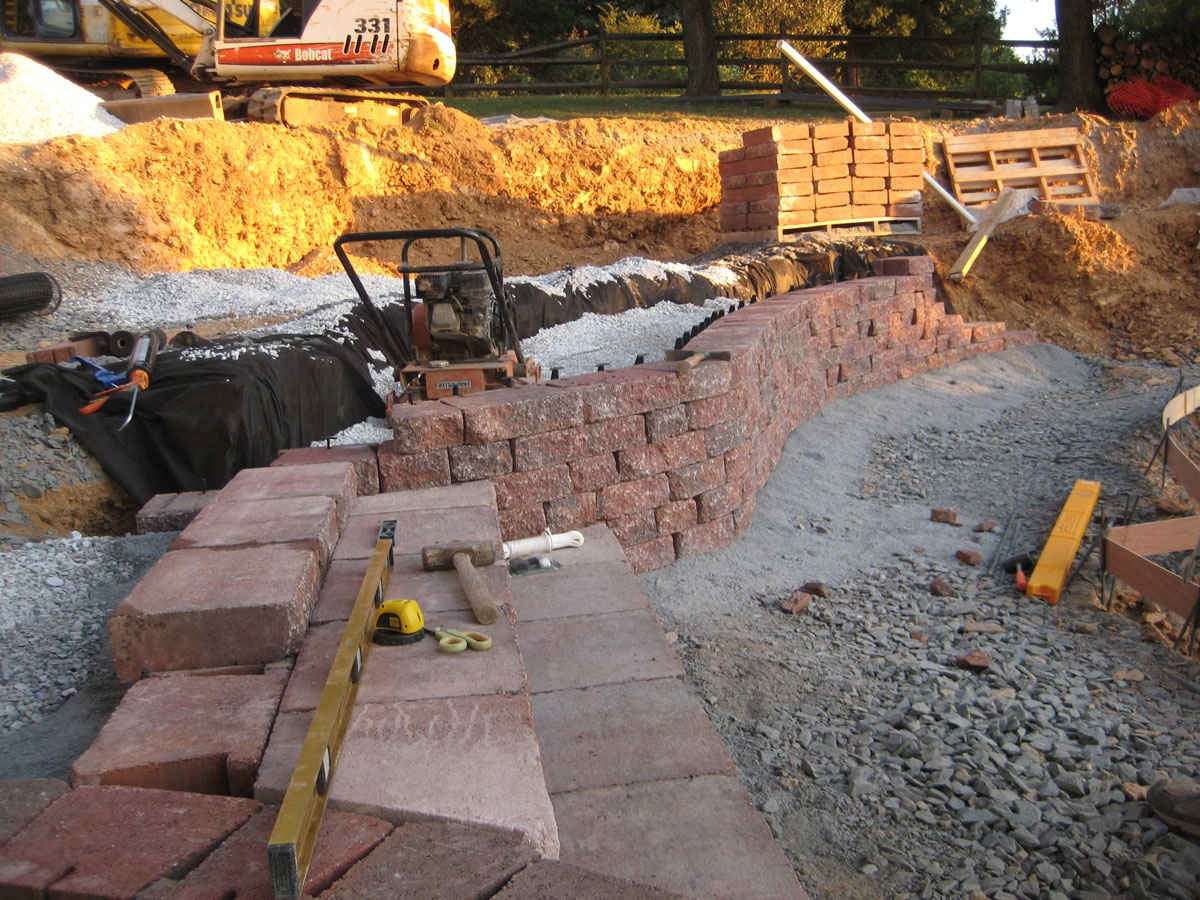
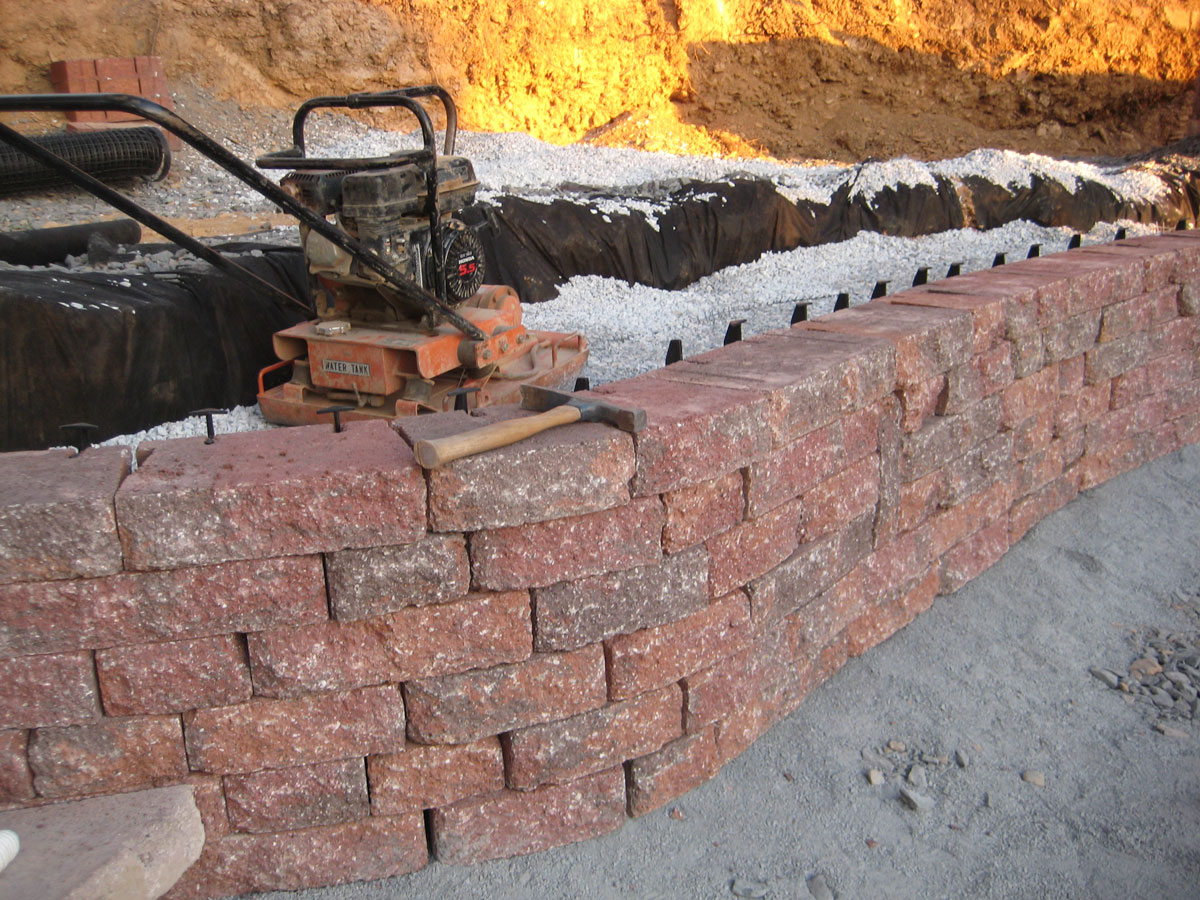
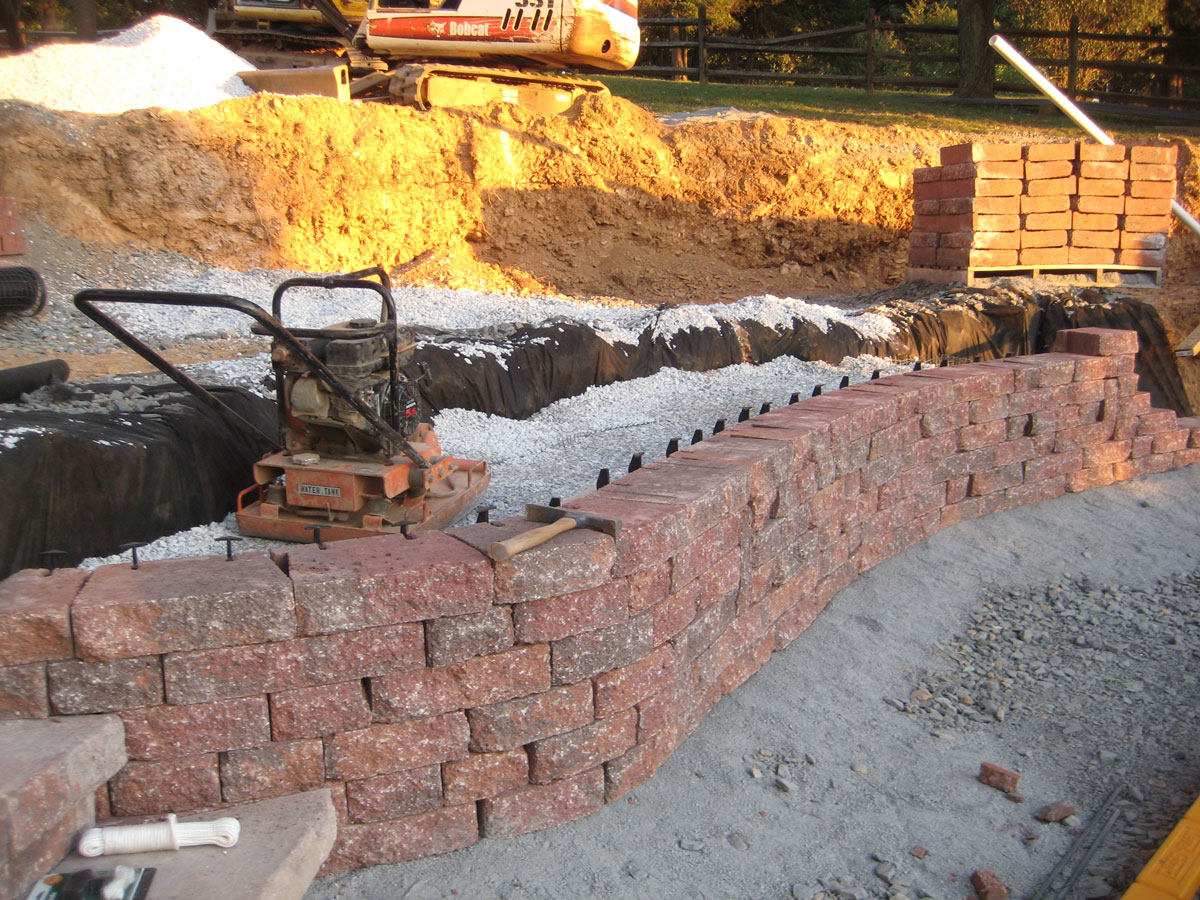
Day 44 - Continuing to add drainage stone and building the wall up on the right of the stairs. |
Day 44 - I used geo-textile on the back to hold the
wall in place. Not sure if it was needed for this wall, but it couldn't
hurt.
|
 |
 |
|
Day 44 - As you can see from the background, we completed two pallets of block wall in 2 days. We did make a dent in the stair material from that one stair.My budget for the entire wall and porch area was $6000 in material. After it's complete, we'll have spent over $20000 in material alone for just the wall material. We were a little over-budget. |
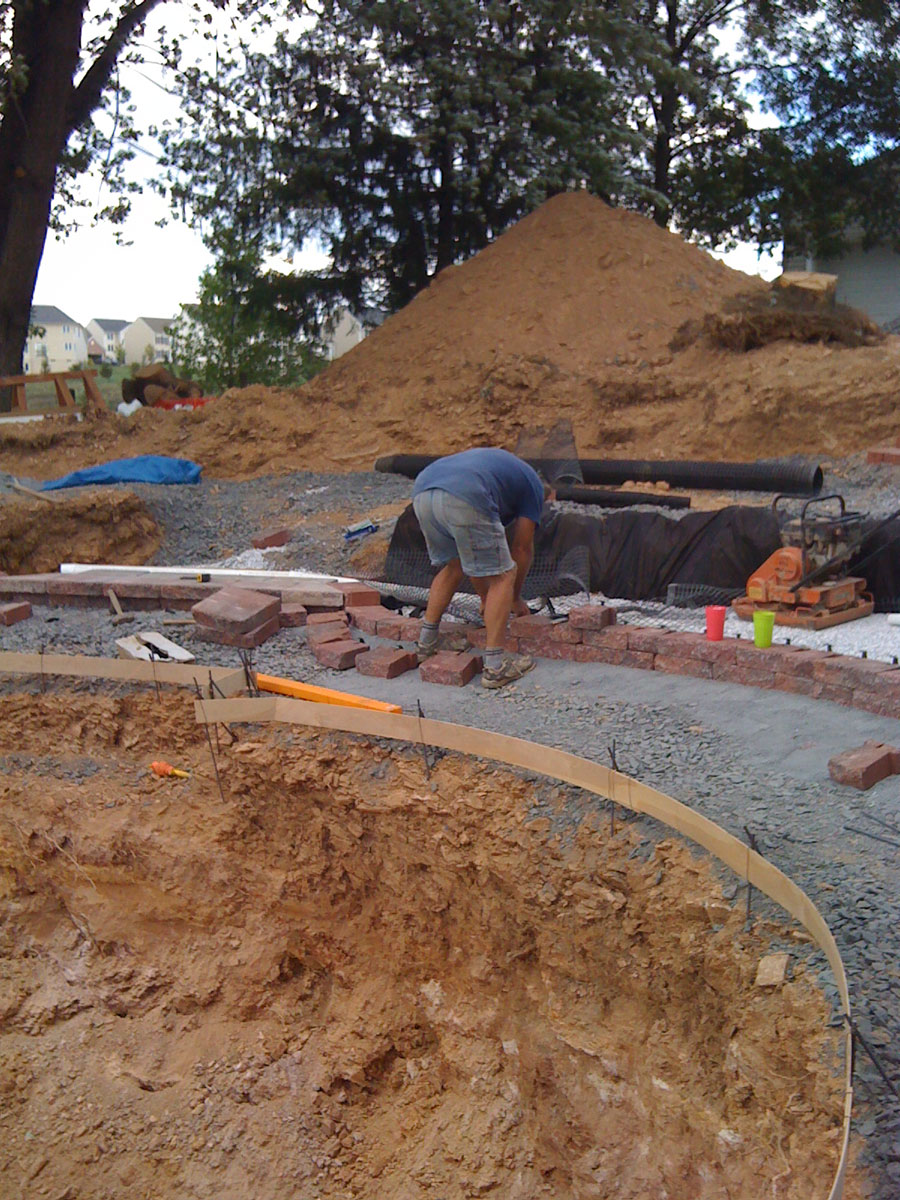
Day 44 - I tried very hard in keeping the pool floor
area consistent around the pool to between 5-6 feet in the majority
of the layout. As it turns out, it is a nice distance to work with after
the pool was complete. If I did it again, I'd stick with that figure.
We elected to have brushed concrete on the pool floor and Pennsylvania
Bluestone on the deck area and everywhere else anywhere away from the
pool.
|
 |
 |
|
Day 44 - Now beginning to work on the left side of the
stairs heading toward the pool house and adding the base of the wall.
This is where it will be VERY CLOSE to the same level of the decking
with respect to the first course of wall.
|
Day 44 - We measured the distance of the deep end. It's about 8 1/2 feet deep. There were a couple harry moments while building the wall when I stepped back a little too close for comfort - SIGH. |
 |
|
|
Day 44 - I asked the pool builder to spread out some
crush and run for me for my base throughout the 1st tier wall. I asked
for 6" of crush and run. I got about 1/2". This was the typical
communication or lack thereof throughout the entire construction process.
I really felt like I was in competition with the pool builder throughout
the construction since I was doing the wall myself. It made it much
harder some of the times. He once asked if I wanted him to finish my
roof. With all the delays and empty promises, that would never happen.
|